
Why cutting speed changes edge quality
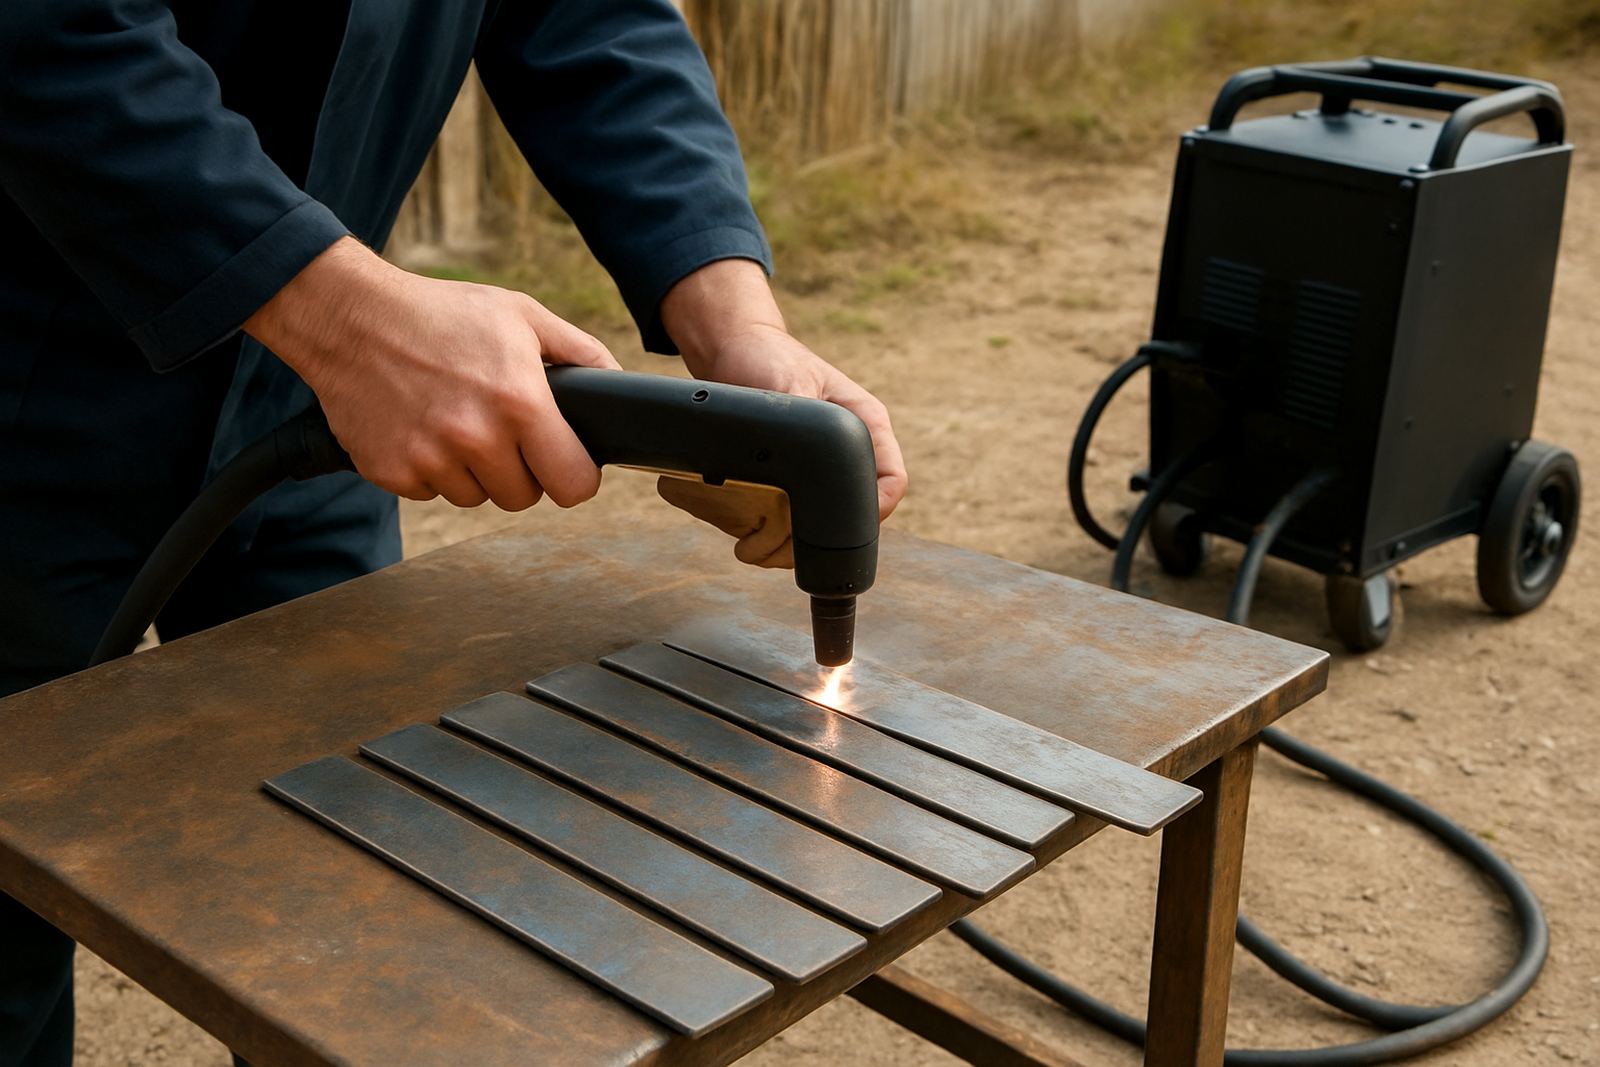
With plasma cutting, the torch and the travel speed have to work together. If the torch moves too slowly, the arc spends too long on one spot and puts extra heat into the plate. That can mean a wider heat-affected zone, rounded top edges and heavier dross on the bottom. If the speed is too high, the arc cannot fully transfer through the material, so you get rough cut faces, lag lines and sometimes a cut that looks complete but is not clean through the full thickness.
The aim is not just to get through the job. It is to get a cut that needs less grinding, fits better on the next operation and does not waste time later in the workshop. In metal fabrication, especially when parts need welding or accurate fit-up, cutting speed matters as much as amperage and material thickness.
What a correct cut should look like
A properly set cutting speed gives a straight edge with light, even striations and minimal dross. On a good cut, the arc trail is balanced and the bottom edge should not have a heavy ridge. The top edge should stay fairly sharp without excessive rounding. You will still see some pattern on the cut face, but it should be consistent from top to bottom.
- Top edge stays clean with limited rounding
- Cut face shows even, straight striations
- Bottom edge has little or no hanging dross
- Parts come off the plate with less grinding
- Heat distortion stays under control on thinner material
If the cut face starts to lean, it usually means the speed is off or the torch height is not correct. On CNC work, torch height and speed settings must be matched, not treated as separate issues.
Signs you are cutting too slow or too fast
Most operators can spot a problem once they know what to look for. Too slow often gives a wider kerf, extra sparks back toward the torch and more molten metal collecting at the bottom edge. Too fast usually gives a cut that looks sharp from above but has lagging striations, edge bevel and possible uncut spots at the lower edge.
- Too slow: more heat input, more dross, wider kerf and greater distortion
- Too fast: incomplete severance, edge bevel and rough striations
- Wrong speed on thin sheet: warping, burn-through or a bowed edge
- Wrong speed on thicker plate: heavy drag marks and poor squareness
On a handheld unit, the operator often compensates by walking slower or faster without noticing. On a CNC table, the machine will hold the programmed speed, so bad settings show up very quickly across the whole sheet.
Material thickness, amperage and gas all work together
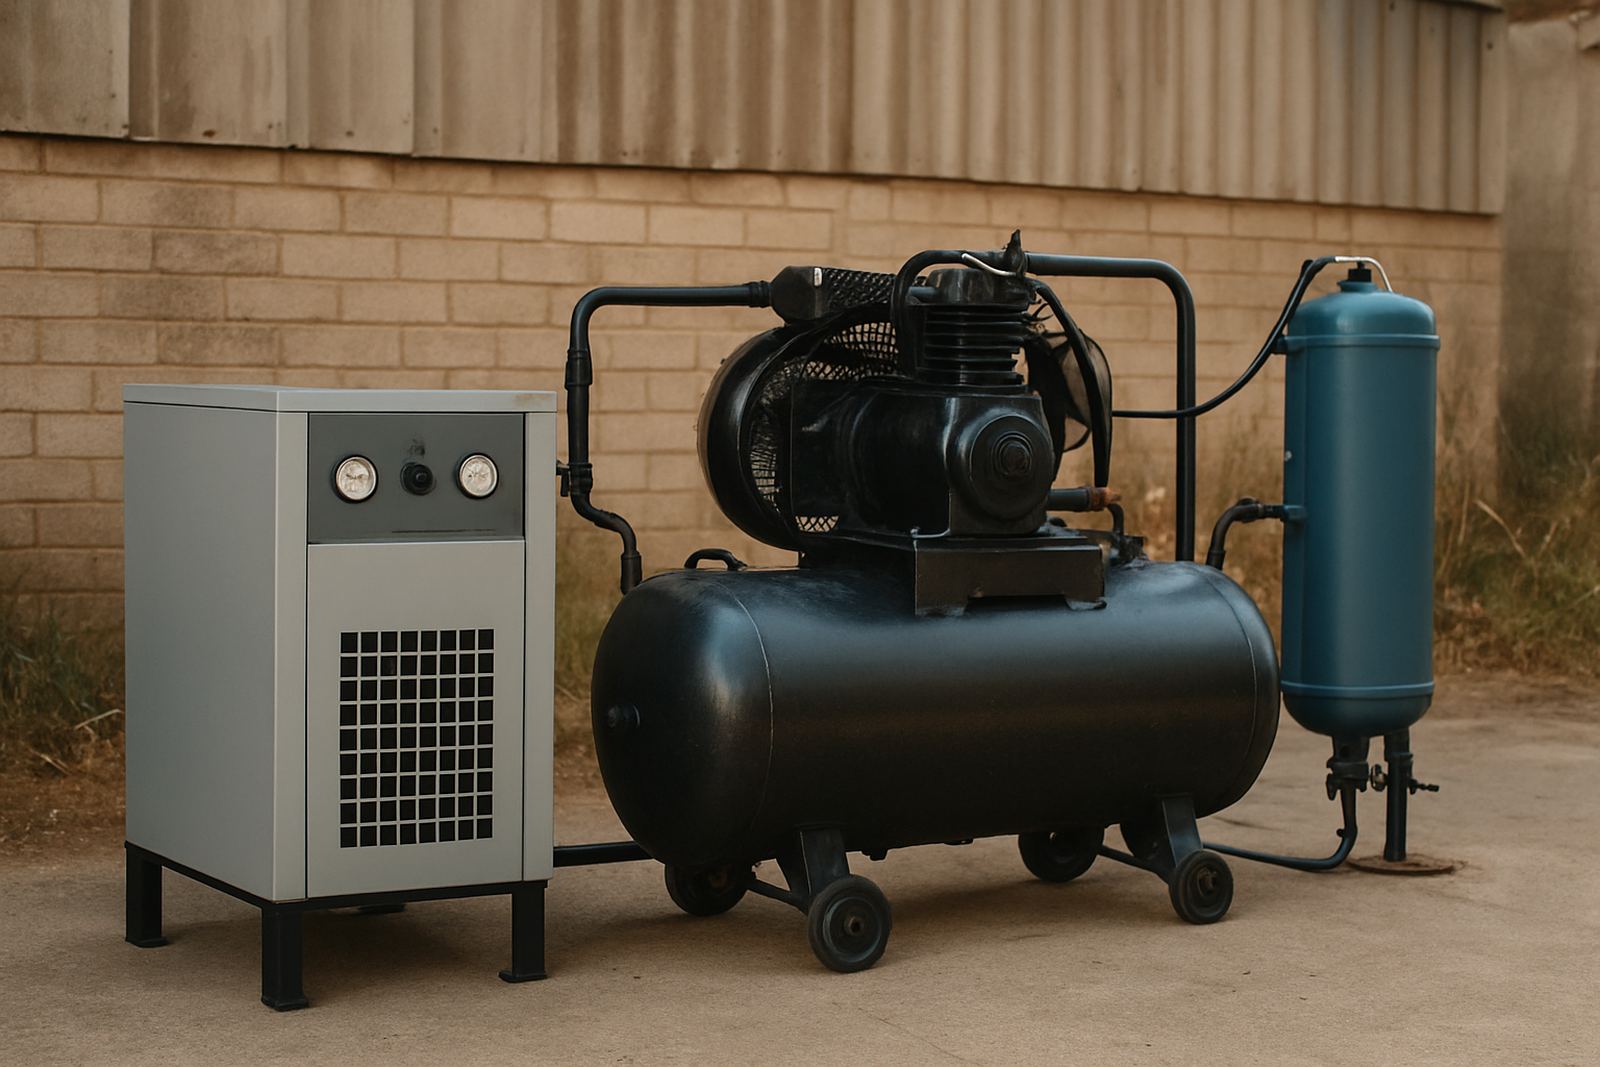
There is no single cutting speed that suits every plate thickness. Mild steel, stainless and aluminium all behave differently, and even the same material can cut differently if the plate is rusty, painted or has mill scale. The amperage setting has to suit the thickness, and the air supply must be clean and dry enough to keep the arc stable.
For workshops in places like Vereeniging, Vanderbijlpark and Sasolburg, air quality can change a lot during the day. Water in the line, pressure drops from undersized compressors and dirty filters all affect the cut. In coastal humidity is one issue, but inland moisture from tanks and pipework can still cause trouble, especially after a power dip or load-shedding restart.
- Match amperage to the plate thickness
- Keep air pressure within the machine’s working range
- Use dry air and check filters often
- Slow down only when the cut still stays clean
- Increase speed if the cut is too hot and dross is building up
A practical workshop example from Gauteng
A fabricator in Meyerton was cutting 6 mm and 10 mm plate for trailer components. The team had been fighting thick bottom dross and parts that needed too much cleanup before welding. The first reaction was to slow the torch down, but that made the heat input worse and the plates started to bow slightly on longer cuts.
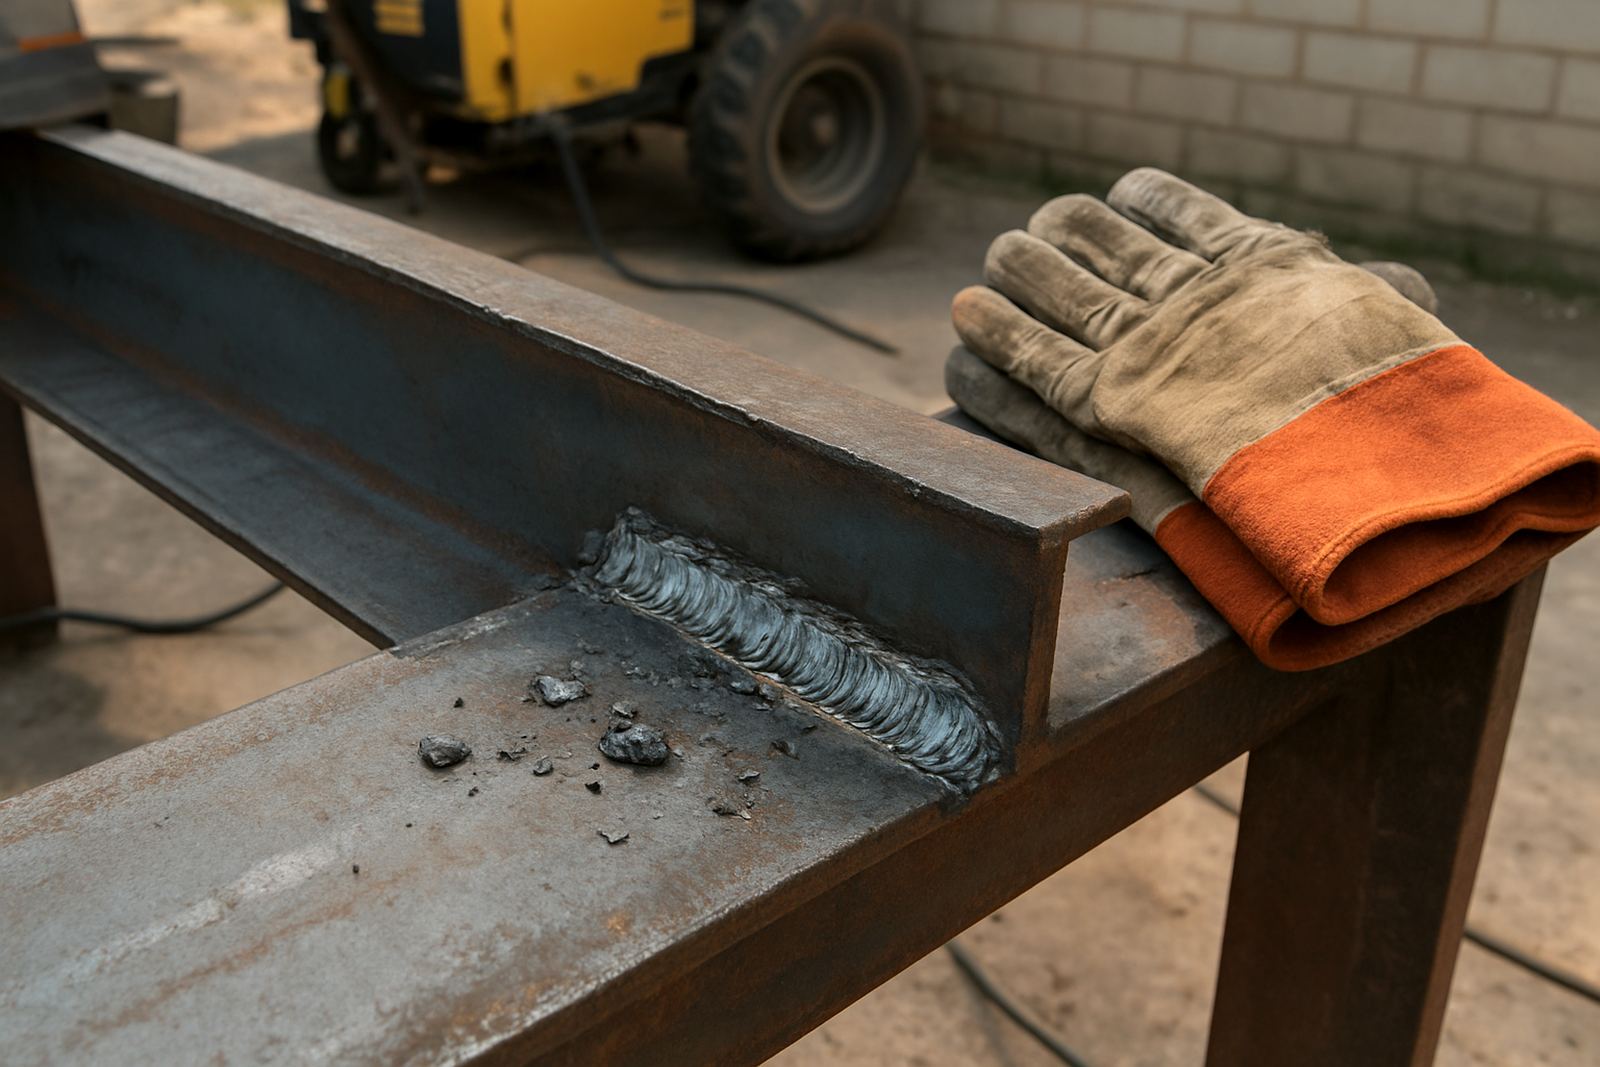
After checking the air system, torch height and cut settings, the travel speed was lifted to suit the material and the cut improved immediately. The edges came out cleaner, the dross reduced and the weld prep was more consistent. The real fix was not just speed on its own, but speed matched to the rest of the setup. That is the part many shops miss when they are busy and trying to keep the job moving.
How operators can test the best speed on site
The safest way to find the right speed is to make short test cuts on offcut material. Start with the recommended setting for the thickness, then inspect the cut face, the bottom edge and the amount of dross. Adjust in small steps, not big jumps. Keep notes for each material and thickness so the next job starts from a better point.
- Cut a short sample before running full sheets
- Check top edge, cut face and bottom edge together
- Adjust speed in small increments
- Record the best setting for each thickness
- Recheck after changing consumables or gas supply
When a workshop changes consumables, moves to a new compressor or starts running heavier jobs, the old settings may no longer be right. That is why preventive maintenance and cut quality audits save time later.
When to contact support instead of testing settings blindly
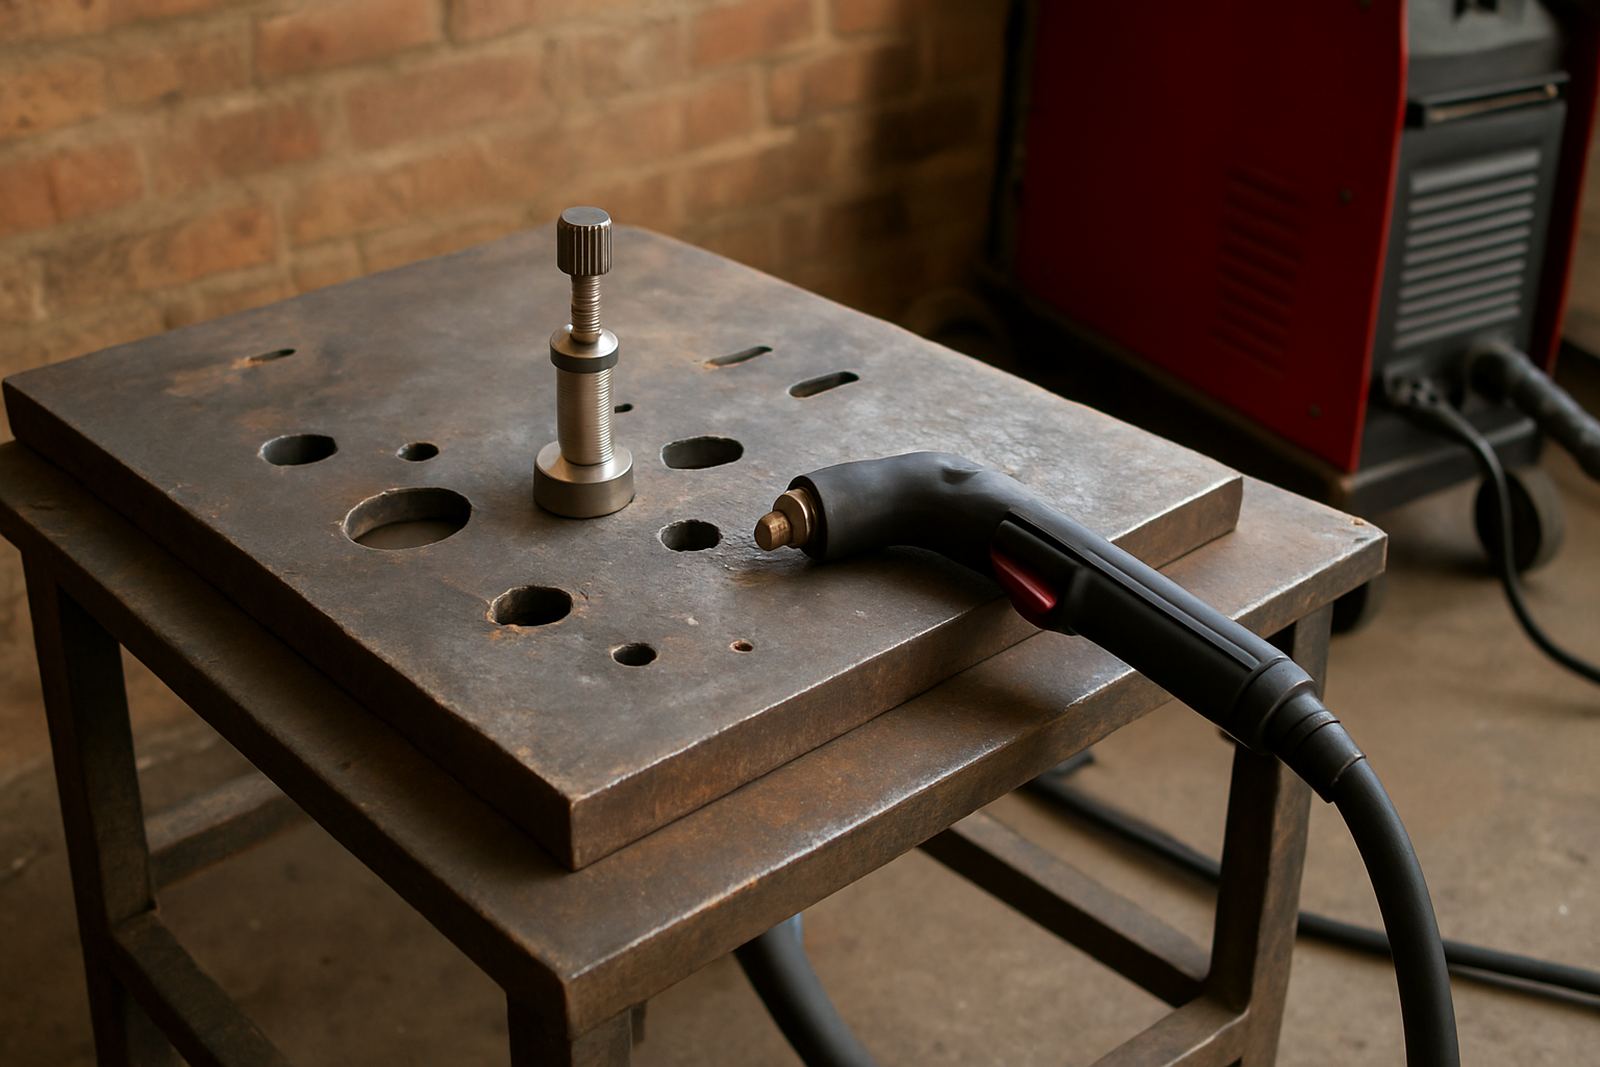
If the cut is still rough after you have checked speed, torch height, air supply and consumables, there may be a deeper issue. A worn torch, damaged lead, unstable power source or incorrect CNC calibration can all show up as bad edge quality. In that case, it helps to have the machine inspected before more plates are wasted.
PlasmaCutter supports handheld and CNC users across Vereeniging, Vanderbijlpark, Sasolburg, Meyerton, Alberton, Germiston, Bloemfontein and Welkom with demos, servicing and training. Our team handles torch repairs, power source repairs, CNC table servicing, height control calibration, onsite breakdowns and operator training, so the speed question is looked at alongside the rest of the system. If you are unsure where to start, send an enquiry through the contact page and we will help you work through the cut step by step.