Why Cut Edges Need Attention Before The Next Step
Plasma cut parts often look ready to use straight off the table, but the edge still needs a proper once-over. Heat, dross, small bevels and light oxidation can all affect how parts sit together, especially on material from 2 mm to 20 mm in a busy fabrication shop.
If the part is going to be welded, bolted, painted or galvanised later, edge prep is part of the job not an extra. A few minutes spent now can stop gaps, poor weld penetration, lifting paint, or parts that sit out of square during fit-up. In Vereeniging and Vanderbijlpark we see this most often on brackets, guards, machine frames and repair plates where the cut was good but the finish was left rough.
Start With Dross, Burrs And Heat-Affected Spots
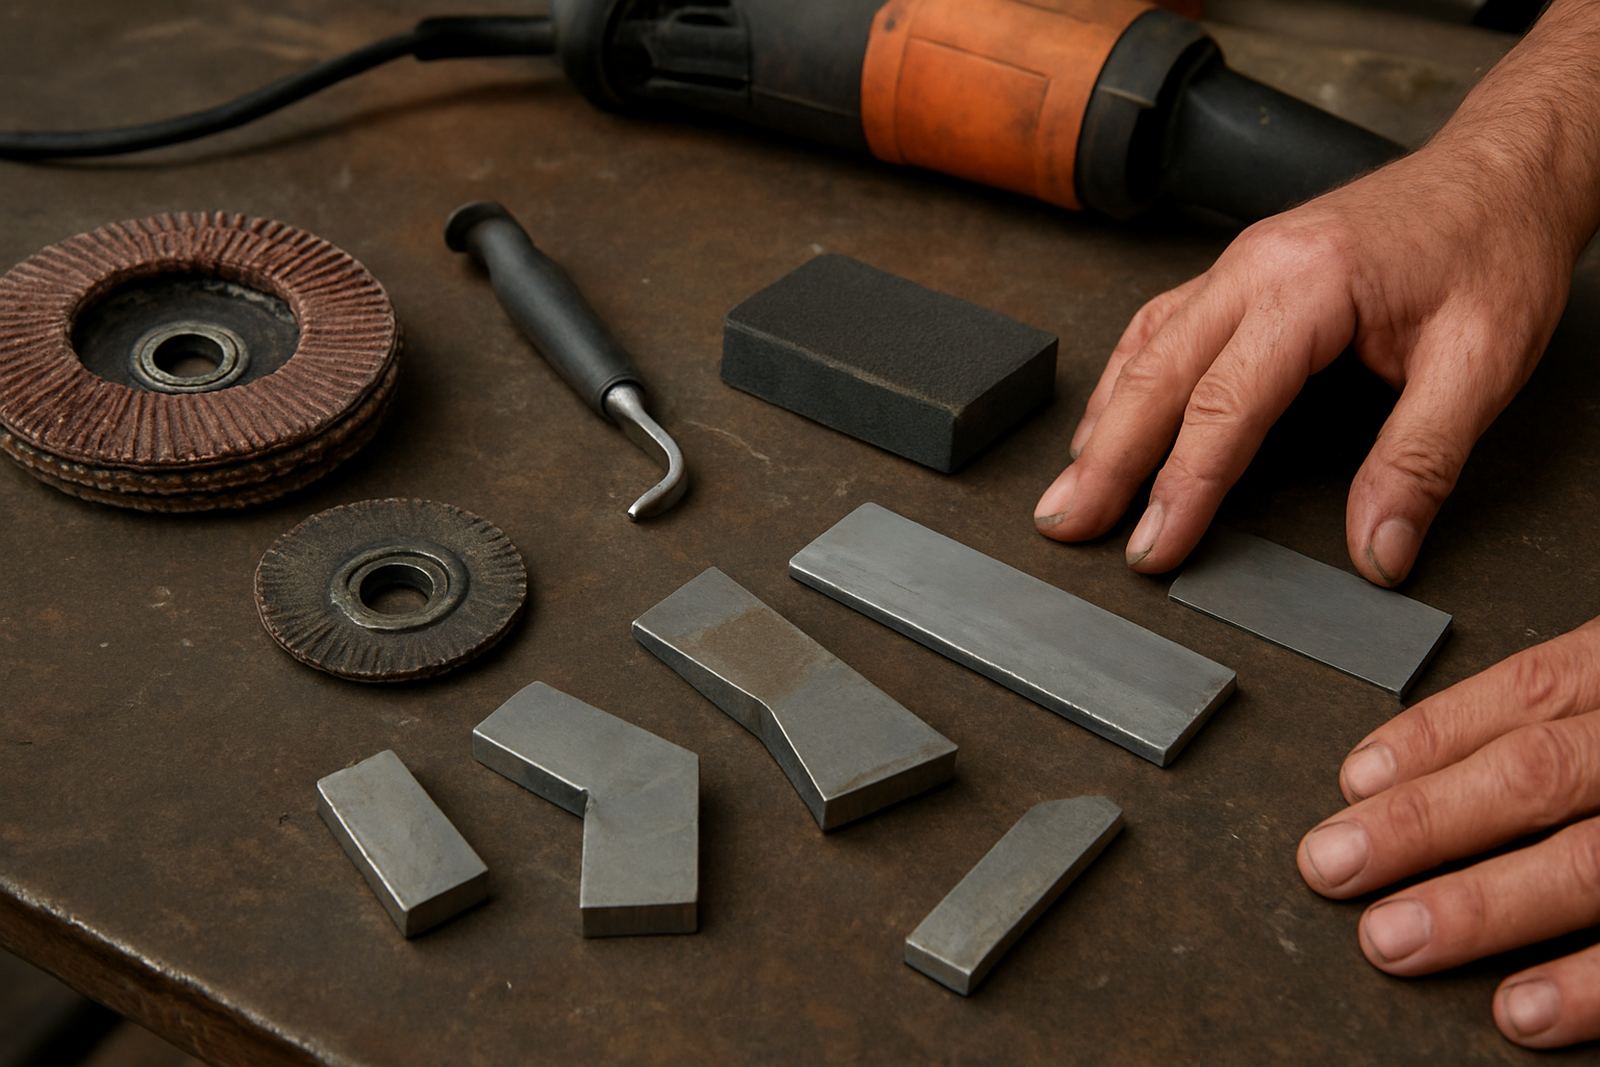
First check the lower edge and any tight inside corners for dross. Heavy dross should be removed with a scraper, chipping tool or light grinding, depending on thickness. Burrs on the top edge can be knocked down quickly with a flap disc or deburring tool. On thinner plate, be careful not to round the edge more than needed.
Look for heat-affected areas too. If the cut was slow, or the torch height was too low, the edge may have a hard skin or slight wash that should be cleaned before fit-up. In some cases, a light grind is enough. On stainless or aluminium, keep grinding clean and controlled to avoid cross contamination.
- Remove loose slag and dross first.
- Check both faces of the cut, not only the visible side.
- Use light pressure so you do not change the part size.
- Wipe the edge after grinding to remove dust and grit.
Get The Fit-Up Right Before You Reach For Paint
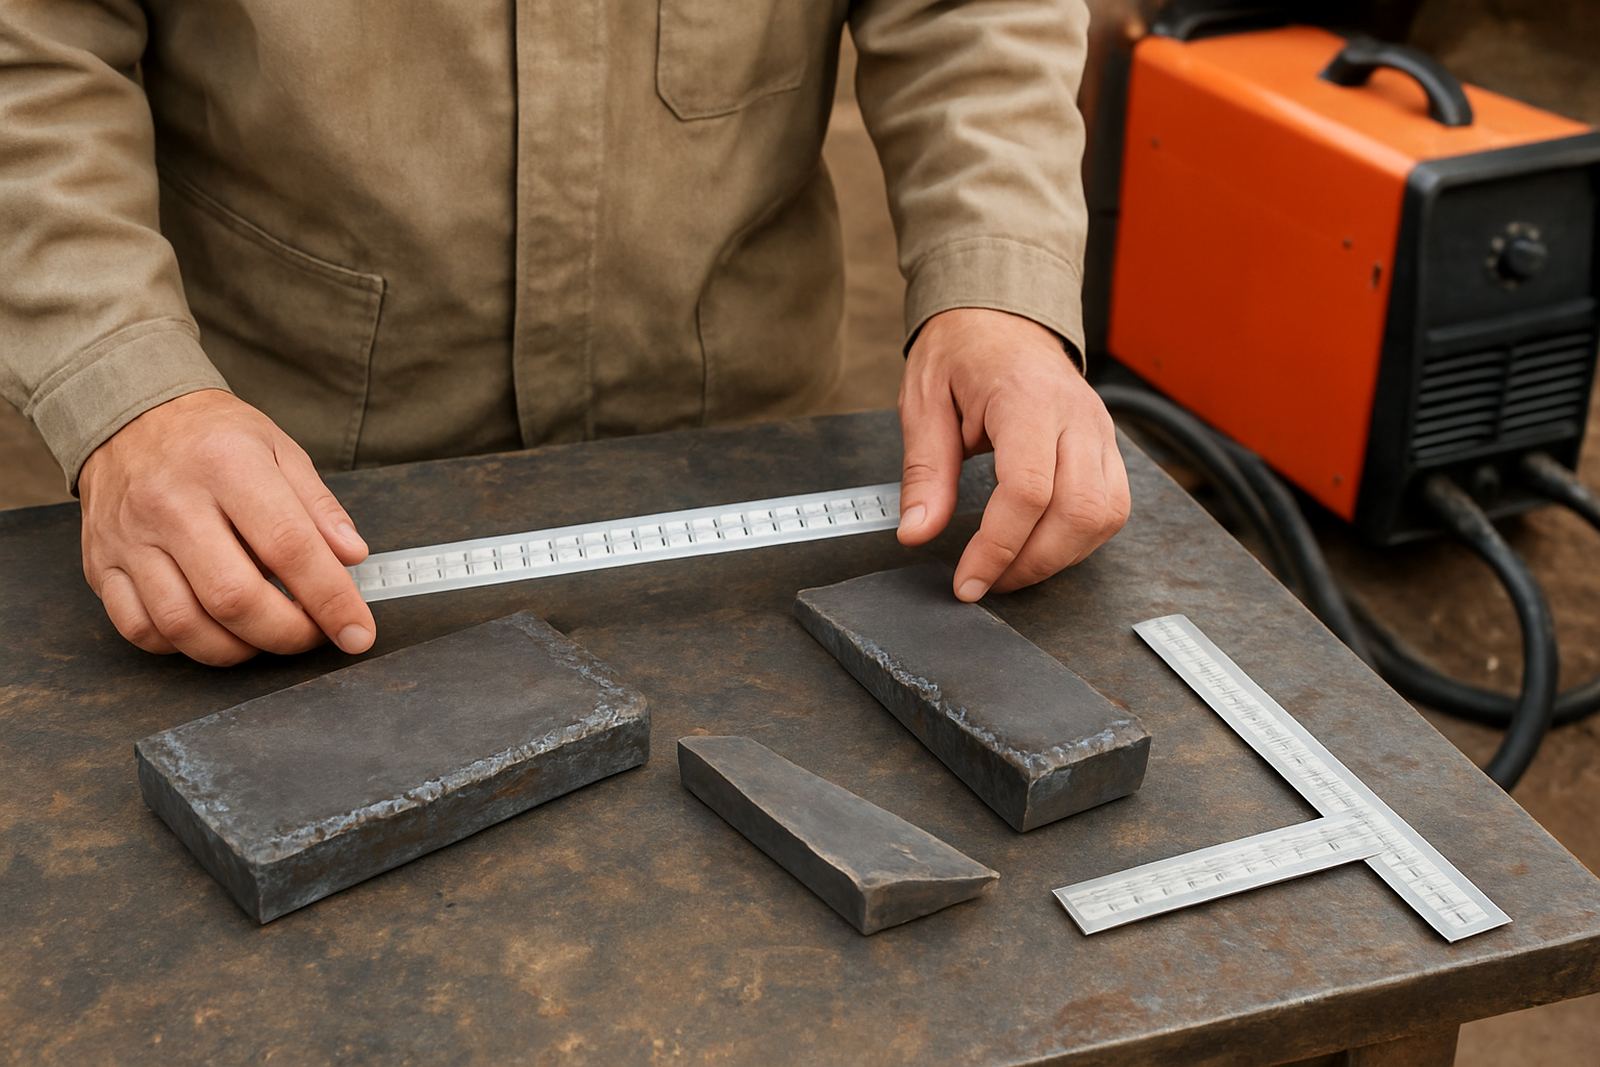
Good edge prep is not only about appearance. When two cut parts must meet cleanly, the edge condition decides how much adjusting is needed. If the cut edge is jagged or tapered, the fitter spends extra time grinding, clamping and checking the same joint again and again. That is slow work and it causes mistakes.
For welding, edges that will form a butt joint may need a small bevel, depending on plate thickness and the weld procedure. For fillet welds, the edge should sit flat and free of scale. If you are working with a repair plate for a trailer, gate, implement or machine base, dry-fit the parts first and mark any high spots before final clean-up.
- Test the joint without forcing it into place.
- Mark proud spots with a paint marker or chalk.
- Recheck holes, slots and tabs after cleanup.
- Keep the joint faces dry and free of oil.
Choosing The Right Cleanup Method For The Material
Not every edge should be finished the same way. Mild steel can usually take a firmer clean-up, while thinner sheet needs a gentler touch. On coated material, remove only what you need for welding or bonding, then clean the rest so you do not create more work later. In coastal humidity, even fresh-cut mild steel can flash rust quicker than people expect, so timing matters.
For workshops in Sasolburg, Meyerton or Alberton that run parts through several steps, it helps to standardise the cleanup method. That way the part comes off the cutter, gets checked, then moves straight to deburr, wash and stack. Keep the process simple and repeatable, otherwise one operator leaves the edge too sharp while another removes too much material.
- Thin sheet: light deburr and wipe clean.
- Medium plate: remove dross, then check for taper.
- Pre-painted or coated stock: protect the rest of the surface.
- Rust-prone environments: prime or process the part soon after cutting.
When Edge Prep Affects Welding And Paint Quality
Edge prep has a direct effect on welding quality. Dirty edges trap scale, oil and dust in the joint, which can lead to porosity or weak starts and stops. If the cut leaves an uneven land, the weld may bridge on one side and leave a cold spot on the other. That is not worth the repair time later.
Paint also needs a proper surface. Grinding marks that are too coarse can show through the finish, while loose dust can stop coating from bonding well. After cleaning, give the part a final wipe and inspect it under good light. If the job will sit in a yard, factory or outside area in the Free State, a cleaner edge and better prep can make a real difference to how long the coating lasts.
- Clean the joint before any welding starts.
- Match the prep to the final finish required.
- Use good light for the final inspection.
- Do not leave grinding dust in slots or holes.
A Practical Example From A Vereeniging Workshop
A local fabrication shop in Vereeniging cut a batch of support brackets for an automotive repair frame. The parts fitted well enough for the first trial, but the operator noticed that several edges had small dross beads and a slight taper on one side. Instead of sending the parts straight to welding, the team spent another short round on edge prep, then rechecked the fit before clamping.
The result was faster assembly, fewer adjustments at the weld station, and a cleaner coat after painting. Nothing fancy, just careful work. That is the point with edge prep after cutting: small corrections early on prevent bigger problems later, whether the job is heading to a workshop in Germiston or a plant in Bloemfontein.
Keep Your Cutting Gear Producing Cleaner Edges
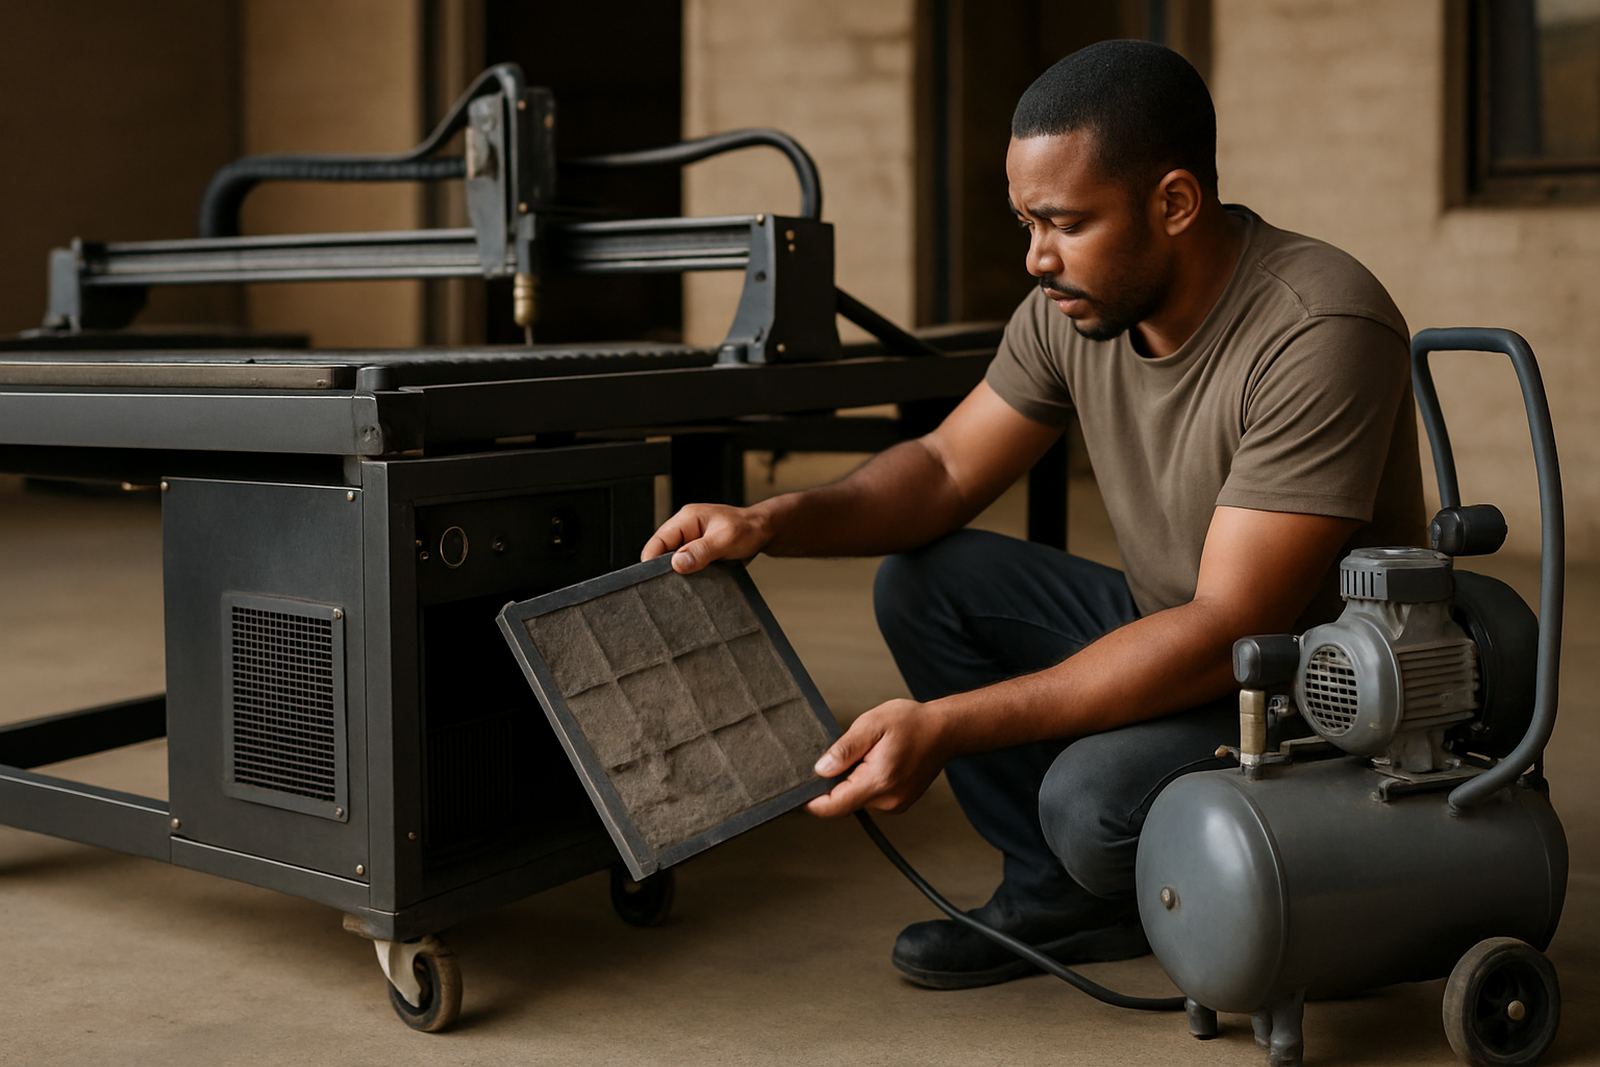
Better edge prep starts with better cuts. If your torch is worn, your consumables are past their best, or the machine is cutting with poor height control, you will spend more time cleaning up each part. Preventive maintenance, consumables checks and proper operator training all help reduce slag, taper and rough edges before they reach the bench.
For workshops handling both handheld work and CNC table production, regular machine checks are worth it. A torch that is aligned correctly and a table that is serviced on time will give more consistent edges, which means less grinding and quicker fit-up. In places where load-shedding interrupts production, having a machine that is set up properly from the start helps you use the available cutting time well, rather than reworking the same parts again.