
Why dross forms on plasma cuts
Dross is the re-solidified metal that sticks to the bottom edge of a cut. On mild steel it often shows as small beads or a heavy line of slag, while stainless and aluminium can leave a harder edge if the settings are off. In most workshops around Vereeniging, Vanderbijlpark and Sasolburg, dross is traced back to a mix of speed, height, air quality and worn consumables rather than the plate itself.
The main point is simple: the arc must transfer energy cleanly through the plate. If the torch moves too slowly the molten metal has time to pool and stick. If it moves too fast, the cut can drag and leave a rough bottom edge. Add poor air pressure, water in the line, or a tired nozzle and dross becomes almost certain. In humid areas and during load-shedding recovery, compressed air problems are common, so the basics matter more than people think.
Set cut speed before blaming the machine
Cut speed is one of the biggest drivers of dross build up. A lot of operators make one pass and then keep the same pace for every thickness, even when they move from 3 mm sheet to 10 mm plate. That is where the trouble starts. The cut should be fast enough to eject molten metal, but not so fast that the arc trails and leaves uncut sections at the bottom.
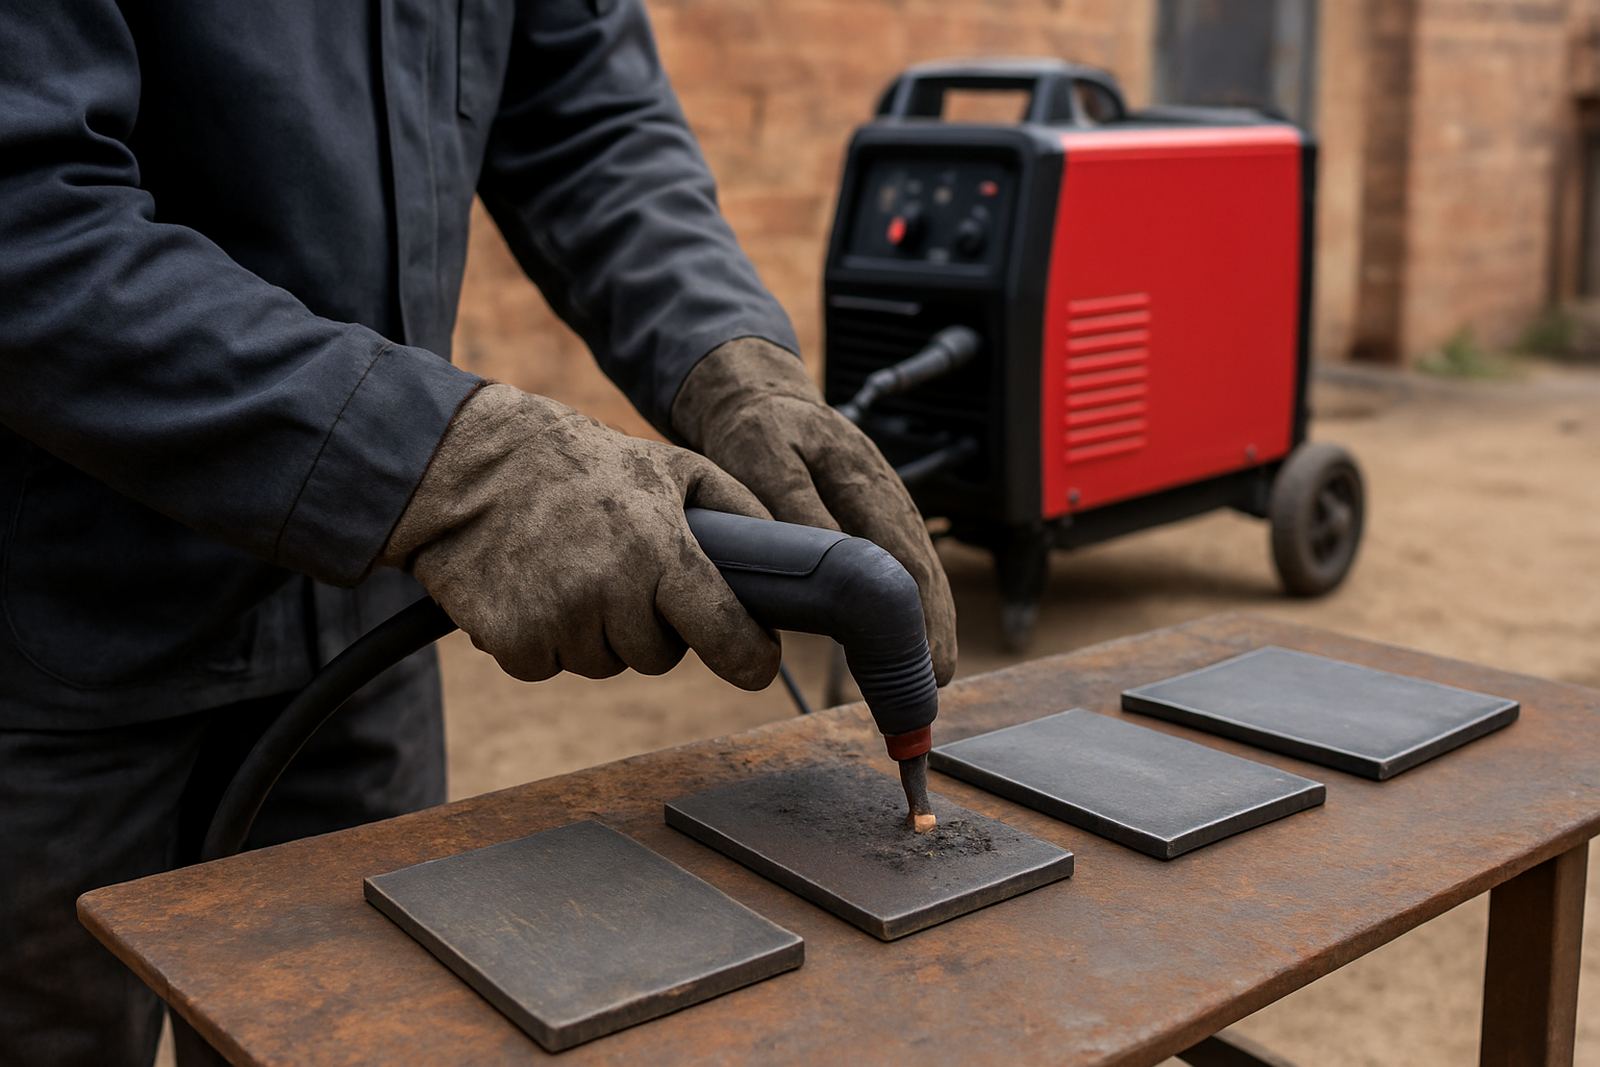
When you see heavy dross, test the speed first before changing other settings. Make a short cut on offcut material and watch the spark angle. A wide, dragging spark usually means the torch is too slow. A spark stream that sprays sharply back or leaves a rough top edge can mean the torch is being pushed too fast. The right pace is the one that gives a narrow, even kerf with minimal cleanup.
- Use the machine chart as a starting point, then fine tune by material condition.
- Do not copy the same speed from one plate thickness to another.
- Recheck speed after changing gas pressure or replacing consumables.
- If edges show heavy hanging dross, slow changes should be small, not extreme.
Torch height and standoff need proper attention
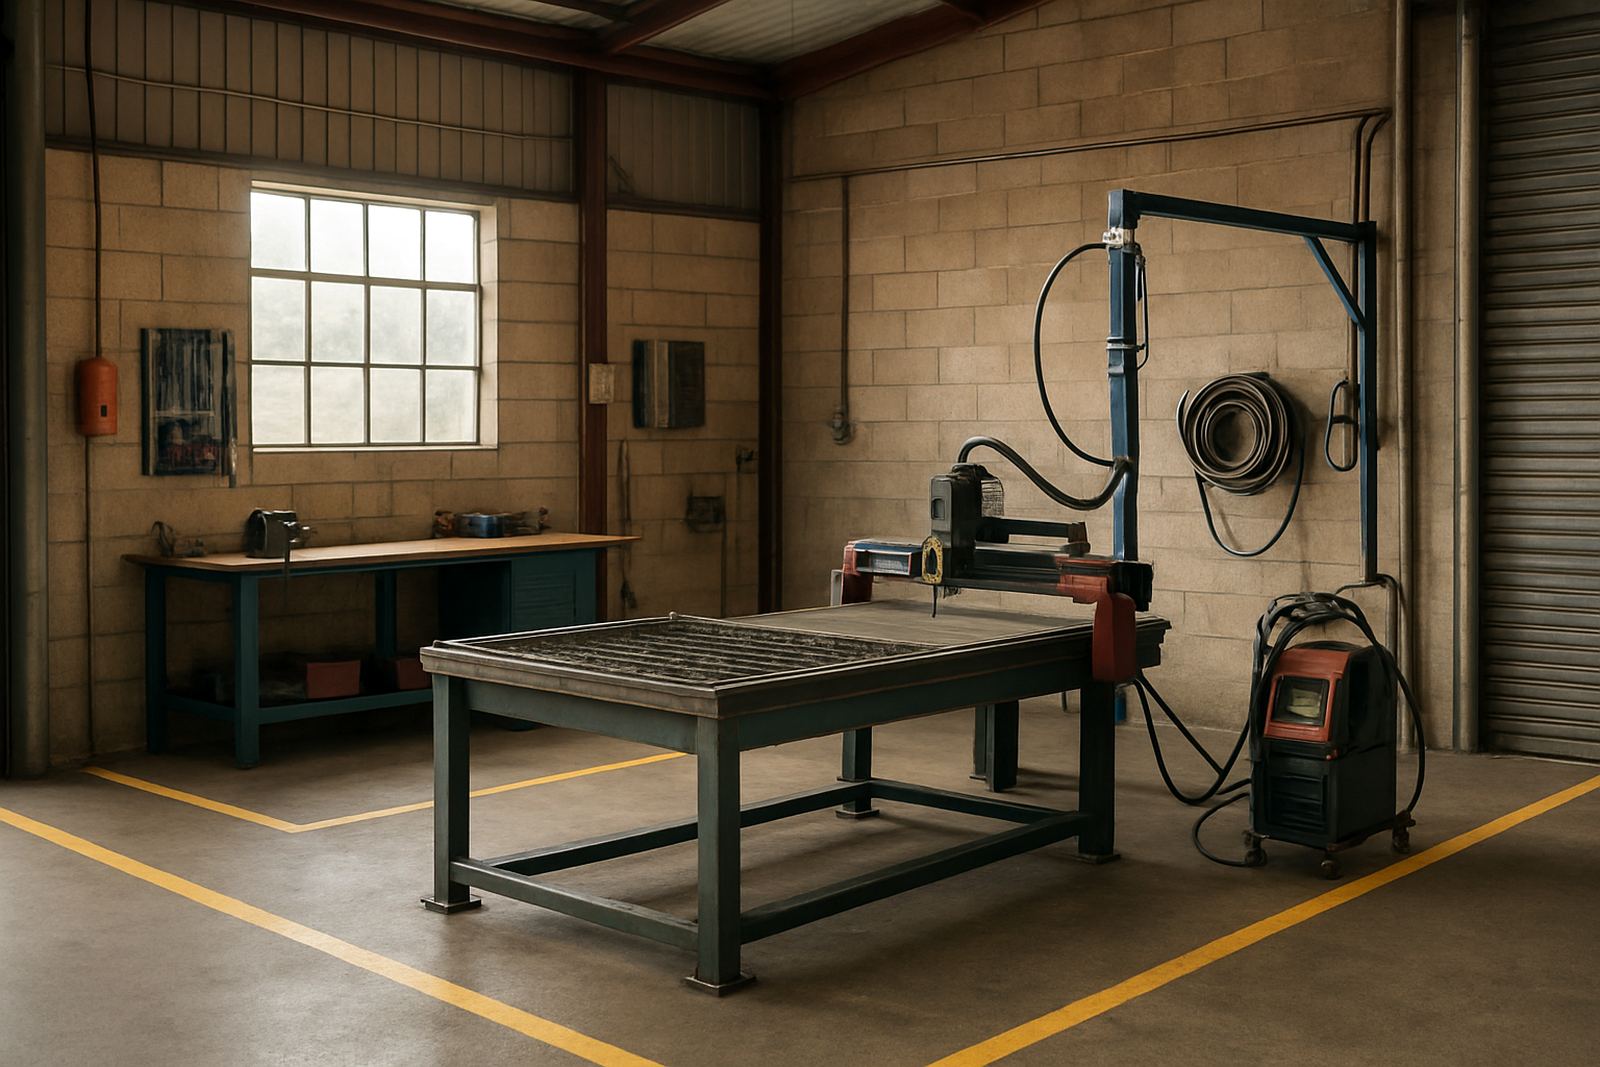
Height control is another area where dross creeps in. If the torch runs too high, the arc spreads and loses energy before it reaches the cut face. If it runs too low, the torch can blow back, wear consumables faster and leave an ugly bottom edge. On CNC tables this is even more important because height control, plate warp and surface rust can all affect the arc.
For handheld work, keep the standoff steady and avoid tilting the torch. For CNC work, check that the height control is calibrated and that the torch follows the plate correctly over long runs. A machine that cuts fine on the first metre but starts to throw dross later may have a height sensing issue, or the plate may be lifting slightly from heat.
- Check the torch stand-off at the start of every shift.
- Make sure the torch is square to the plate, not angled in one direction.
- Watch for tip bounce on warped sheet or rough scrap.
- On thicker material, verify that the arc starts clean before the cut begins.
Consumables wear out in small steps, then suddenly
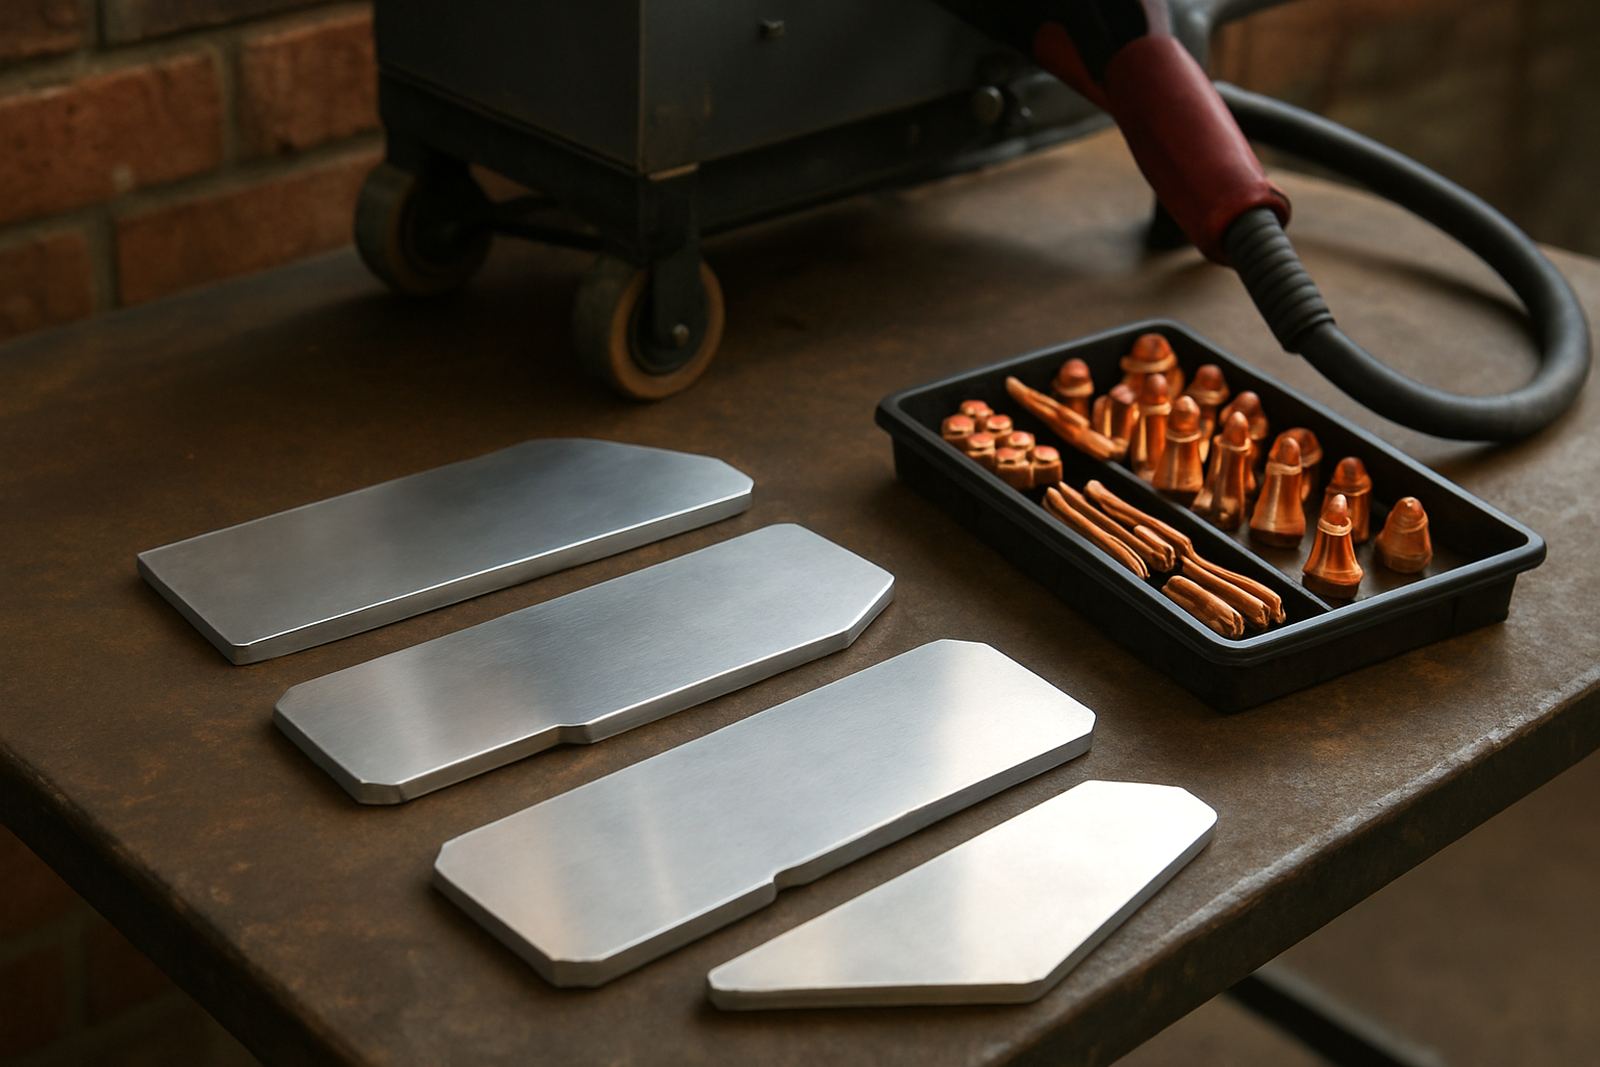
Worn consumables are a common reason for dross, especially when a workshop keeps running long after the nozzle hole has opened up. The arc becomes less focused, the cut face widens and slag starts sticking to the underside. Sometimes the change is gradual, so operators only notice it when grinding time doubles.
Check the nozzle, electrode, swirl ring and shield components regularly. Look for pitting, oval wear, burn marks and loose fitment. If the cut quality changes after a tip change, the problem may be the assembly or the air path, not the machine itself. Consumables are cheaper than the lost time caused by poor cuts and rework.
- Inspect consumables at the start of each job run, not only when a fault appears.
- Keep genuine sizes matched to the torch specification.
- Store spares dry, especially in coastal humidity or in open workshop conditions.
- Replace parts as a set when wear is uneven or the arc looks unstable.
Air quality and pressure are part of cut quality
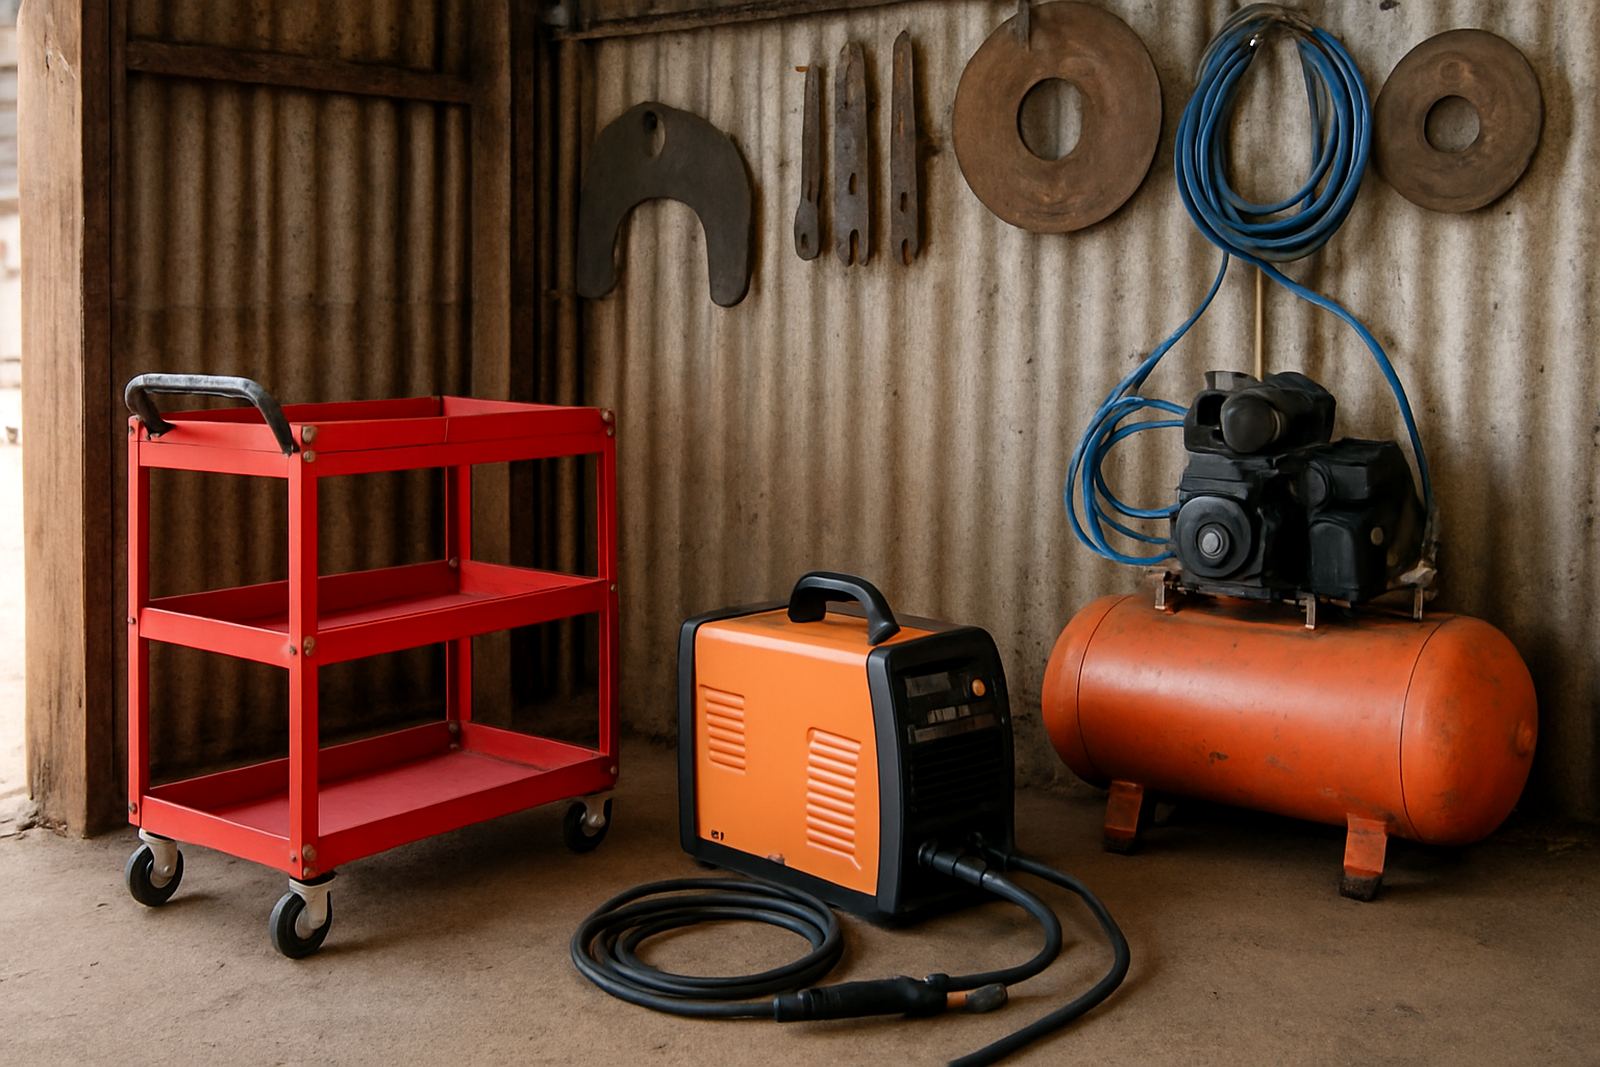
Clean, dry air is essential for reducing dross. Water, oil and dirt in the line can disturb the arc and leave a sticky bottom edge that looks like a speed problem but is really an air problem. In Gauteng and the Free State, many workshops run compressors that also feed other tools, so pressure drops can happen during busy periods without anyone noticing.
Check the air system from the compressor to the torch. Drain tanks regularly, inspect filters and confirm that pressure stays steady while cutting. If the machine cuts well at first but then degrades as other equipment starts up, the compressor may be undersized for the duty cycle. That is common in metal shops where a cutter shares air with grinders, spray guns and clamps.
For CNC tables, low pressure during a long nest can create repeated dross on every part. On site, that often shows up as a batch of parts that all need touch-up grinding after a power interruption or compressor fault. A quick inspection before production starts saves a lot of clean-up later.
A simple workshop routine that keeps slag down
The easiest way to reduce dross is to treat it as part of daily setup, not as a post-cut complaint. A short routine before cutting starts will catch most of the causes before they spread through the job. This matters in busy yards in Meyerton, Alberton and Germiston where multiple operators may share the same table or handheld unit through the day.
Use a consistent check list and keep it short enough that the team will follow it. When the routine becomes normal, clean cutting becomes repeatable instead of lucky. It also helps when you train new operators, because they learn what good looks like before bad habits settle in.
- Drain the air system and confirm pressure at the machine.
- Check torch height and square alignment.
- Inspect consumables before the first cut and again after heavy use.
- Run a test cut on scrap and look at the bottom edge before production.
- Record settings for common material thicknesses so operators do not guess.
When a local example shows the real cause
A fabrication shop in the Sasolburg area recently complained about dross on 6 mm plate after a change in operators. The first assumption was that the material had changed, but the real issue was a combination of worn tips and a torch running slightly high on the CNC table. Once the consumables were replaced and height control recalibrated, the parts came off cleaner and the grinding station stopped backing up.
That kind of problem is common across Vereeniging and Bloemfontein too. The machine is often fine, but one small shift in speed, air or standoff is enough to spoil the edge. If the cut quality has changed and you cannot pin down why, it is worth checking the full cutting path from compressor to torch rather than making one quick adjustment and hoping for the best.
PlasmaCutter supports workshops with torch repairs, power source repairs, preventive maintenance, consumables checks, CNC table servicing, height control calibration, machine commissioning, operator training and cut quality audits. For businesses that need help at the base in Vereeniging or on site across Gauteng and the Free State, the simplest fix is often a proper inspection before the next batch goes through.